“Strut your stuff, gobble with joy, and remember—it’s okay to be a little wild and feathered!” 🦃
Step by Step Drawing Tutorial of a Cute Turkey for Kids
Learn how to draw a cute turkey with this fun and easy step-by-step tutorial for kids and beginner artists! This cheerful cartoon-style turkey is perfect for Thanksgiving crafts, fall art projects, homeschool activities, or classroom fun. Using simple shapes and kid-friendly steps, your little artist will be gobbling up creativity in no time! 🦃
Don’t forget to prepare your materials. Please see my post on how to use the Grid Line Method here. By the way we have prepared a free downloadable Grid Lined Paper that you can use, click the link to download a copy. Please note that these free downloads are intended for personal use only.💖
You may print it on an A4 sized paper or if you want to draw on a smaller scale, you may print 2 copies on one A4 sized paper.
Let’s Draw a Turkey!
Step 1: First, the head of the Turkey should be carefully crafted to ensure it captures the essence of the bird. Make sure the bottom is slightly bigger than the top to create a natural and realistic appearance. This will allow for a more balanced proportion, enhancing the aesthetic appeal.

Step 2: Next, draw a curved line gently along the bottom of the head to outline the neck feathers, ensuring the curve reflects the natural contours of the face. This line should be soft and flowing, capturing the elegance and softness of the feathers, which often have a delicate appearance that enhances the overall character of the drawing. Consider how the feathers might layer over each other, adding depth and texture as you continue to refine the shape.

Step 3: Begin by carefully drawing two circles for the eyes, ensuring they are proportionate to the head. Inside each circle, add additional glares to enhance their sparkle and bring your drawing to life. Next, draw the beak of the turkey, giving it a slightly curved shape to capture its natural appearance. Take your time to outline the details of the beak, making it look realistic and engaging. Don’t forget to add the snout just below the beak, paying attention to its distinctive features that contribute to the turkey’s character.

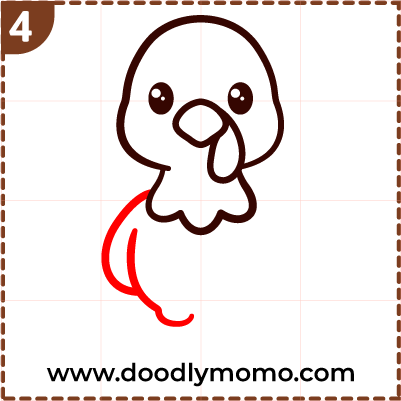
Step 4: Next, draw the left wing and body of the Turkey, paying close attention to the natural curves and contours that bring the creature to life on your canvas. Start by sketching the outline lightly with a pencil, capturing the stance and posture that reflect the turkey’s unique characteristics. Focus on the wing’s elegant span, ensuring to highlight the feathers that layer together, creating texture and depth.
Step 5: Draw the right side of the Turkey symmetrical from the left, ensuring that both sides mirror each other perfectly; pay close attention to the shape and features, including the curves of the body, the placement of the wings, as these elements contribute to achieving a balanced and harmonious overall appearance.

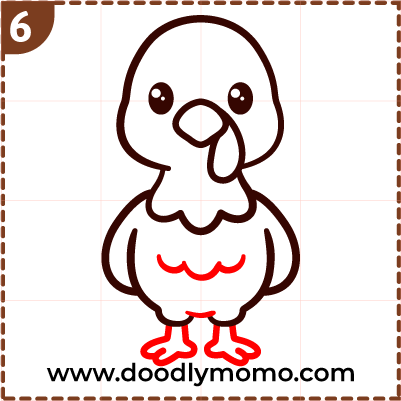
Step 6: Next, draw some curved lines on the chest for additional feather details, making sure to vary the length and direction of the lines to create a more natural look. These lines can extend slightly outward, simulating the way feathers would overlap and enhance the richness of the turkey’s plumage. Add a small curve to connect both legs, giving a sense of stability and structure to the drawing. Finally, draw both legs of the turkey, ensuring they are proportionate and realistic in shape, while paying attention to the positioning of the feet, which should reflect the creature’s posture as it stands proudly.
Step 7: Lastly, draw the tail feather of the Turkey, ensuring to capture its distinctive fan shape that spreads gracefully behind the bird. Make them wider and longer at their base, and then tapering them off towards the tips. Consider the angles at which the feathers extend from the body, allowing a natural flow that reflects the turkey’s posture. Now that you’ve finished your cheerful turkey drawing, try our step-by-step Goat drawing tutorial next and keep the barnyard fun going!

Here are all the detailed steps for your easy reference, ensuring that you can follow along without any confusion as you work through the process. Each step is meticulously outlined to provide clarity, allowing you to navigate through the procedure with ease and confidence. By following this structured approach, you will minimize the chances of making mistakes and increase your efficiency as you progress. Feel free to refer back to this guide whenever you need a reminder or a clearer understanding of the process.

Did you know?
Turkeys are more than just Thanksgiving stars—they’re fascinating birds with big personalities! Male turkeys are called toms and love to puff up their feathers, fan out their colorful tails, and strut around to show off. They make the famous “gobble” sound, while females—called hens—make softer clucks and chirps. Turkeys have great eyesight and can even see in color! Although they may look a little clumsy, wild turkeys can run fast and even fly short distances. With their snoods, waddles, and proud walks, turkeys are funny, friendly, and full of surprises!
Here’s some more kid-friendly information:
- Only male turkeys gobble! Female turkeys make softer sounds like clucks and purrs.
- A group of turkeys is called a “rafter,” not a flock!
- Turkeys can fly! Wild turkeys can fly short distances—up to 55 mph!
- They can run fast too— up to 20 miles per hour on the ground.
- The red part that hangs off a turkey’s beak is called a “snood.” The one under their chin is a “wattle.”
- Turkeys have great vision and can see in color and almost 360 degrees around them!
- Baby turkeys are called poults, and they grow super fast.
- Turkeys love to roost in trees at night to stay safe from predators.
- When excited or showing off, a turkey’s head can change colors—red, white, or blue!
- Wild turkeys are smart and social, often traveling in groups and communicating with many sounds.
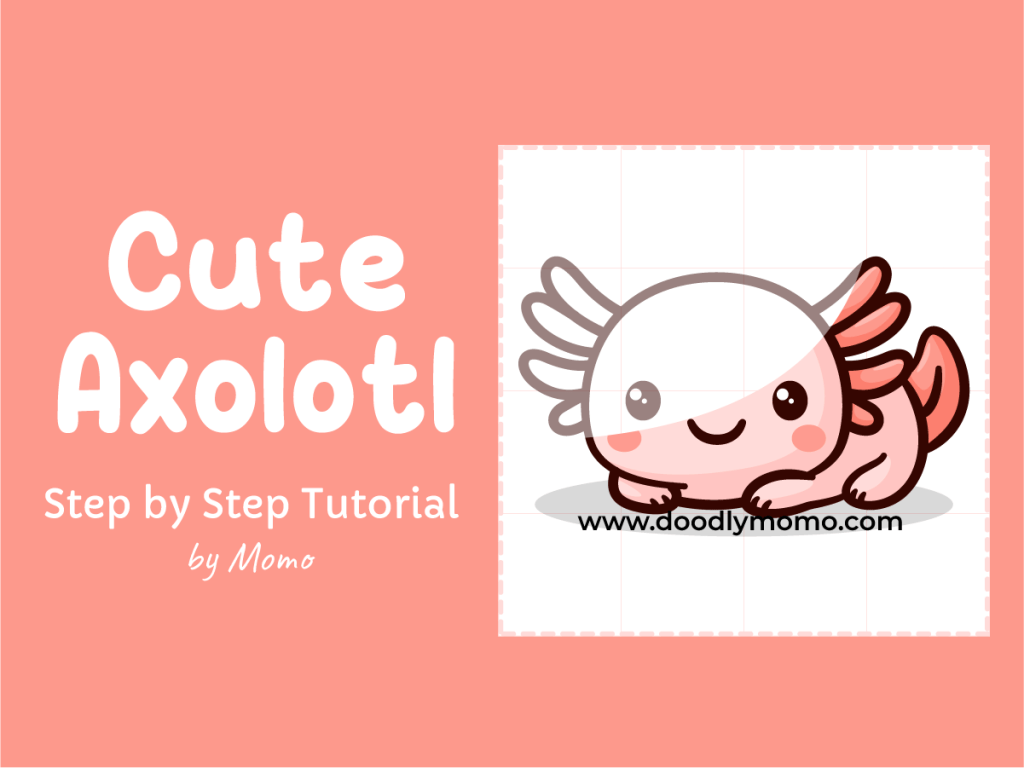
Did you know? Turkeys can blush—their heads change color when they’re excited or happy! For a totally different but equally cool creature, check out our step-by-step Axolotl drawing tutorial next!
📌We are in Pinterest too! Check us out and save our pins as reference! ♥
You can also check and buy vector files and images from our Adobe Stock link below, where you’ll find a diverse collection catering to all your creative needs, ensuring that you have quality visuals for any project, whether it be for web design, marketing, or personal use.
Thank you for reading! We hope you found this article insightful and enjoyable. Please have a look at our other step-by-step tutorials, where you can discover a variety of adorable dog breeds, including tips on training, grooming, and care. Whether you’re a seasoned dog owner or considering bringing a new furry friend into your home, our comprehensive guides are designed to help you along the way. Happy Drawing!


Leave a comment