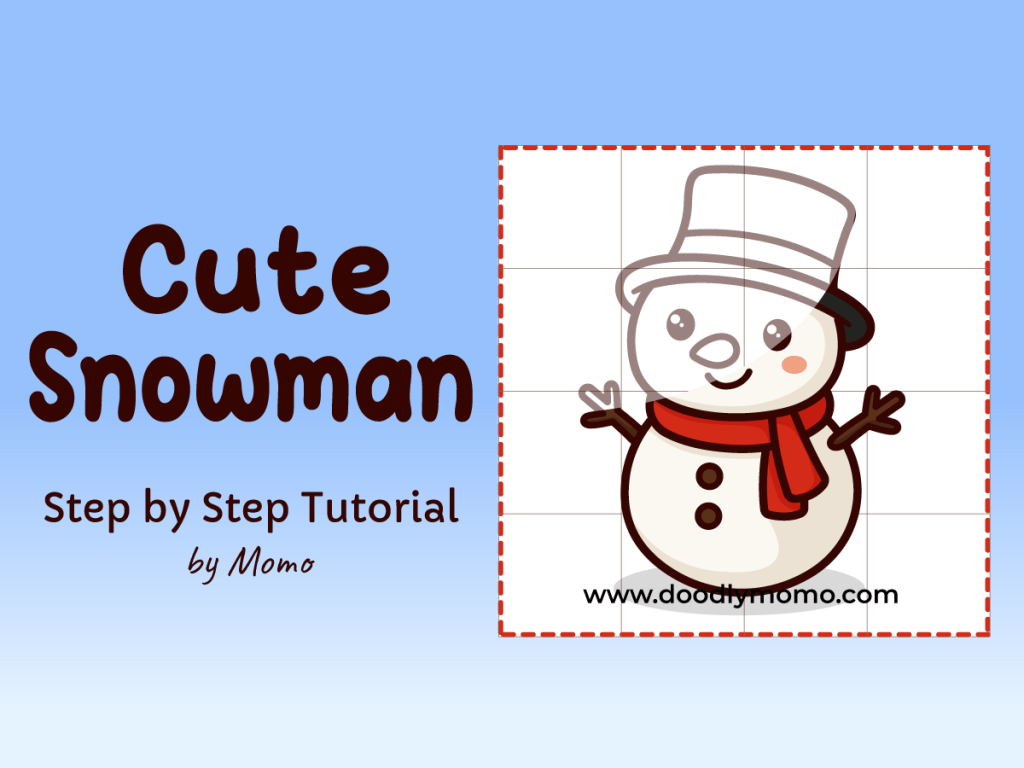
Step By Step Tutorial
Join us as we celebrate Mother’s Day! This tutorial warmly invites you to explore the joy of drawing a mother Corgi and her puppy, celebrating their lovable spirit. Whether you are a beginner or have some experience, this guide provides clear steps suitable for all artists, alongside free downloadable grid paper to assist in the creative process. This enriching experience aims to bring a smile to your face and fill your heart with joy as you create lasting memories through your artwork. 🐶
Don’t forget to prepare your materials. Please see my post on how to use the Grid Line Method here. By the way we have prepared a free downloadable Grid Lined Paper that you can use, click the link to download a copy. Please note that these free downloads are intended for personal use only.💖
You may print it on an A4 sized paper or if you want to draw on a smaller scale, you may print 2 copies on one A4 sized paper.
Let’s Draw!
Step 1: Start by drawing a gentle curve that represents the top of the head, ensuring it has a smooth and rounded shape to give a natural appearance. Then, carefully draw two additional curves on either side of the head for the left and right ears; these curves should mimic the shape of the head and be proportionate in size to create balance. Take your time to refine the curves to enhance realism.

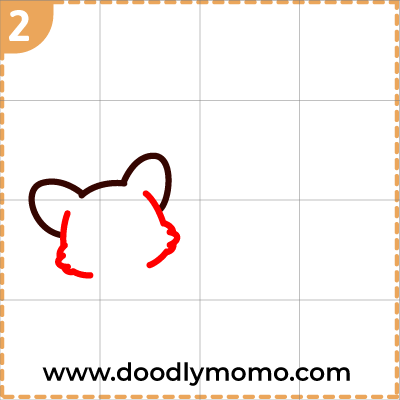
Step 2: Draw a curve for the head and zigzag lines for the cheeks to create a lively face shape. As you sketch, ensure that the curve you make for the head resembles an oval or circle and smoothly connects with the zigzag lines that will define the cheeks. The angles in the zigzag should be playful and exaggerated to enhance the facial expression, giving it a cheerful character that captures attention. Pay attention to the placement of these features, as they will set the foundation for bringing your drawing to life with personality and flair.
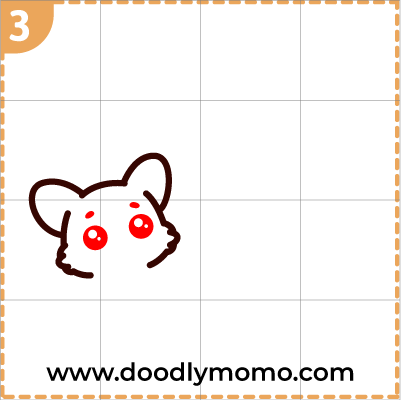
Step 3: Draw two small curves for the eyebrows to give your character a lively expression, showcasing a sense of emotion and personality. Next, create two circles with glare for the eyes, ensuring they appear bright and engaging, as this detail will significantly enhance the character’s overall appeal. Consider adding a slight sparkle to the glare to further captivate the viewer’s attention, making the eyes seem alive and full of energy. This will help in capturing attention and conveying emotion, allowing your character to resonate more deeply with the audience and creating a memorable visual presence that stands out.
Step 4: Draw a small oval for the nose and two curves for the mouth. Make sure to add a U-shaped curve for the mouth’s smile, giving your character a cheerful expression. Additionally, think about the positioning of the smile; a wider smile can convey joy, while a gentle curve may evoke a sense of calm. As you refine these features, consider the overall facial proportions and how they contribute to the character’s personality. Remember, the eyes will play a crucial role in complementing the smile, so imagine how they might widen in delight or soften with a tender expression. By carefully crafting these elements, your character will not only take shape but will also radiate a specific mood and emotion that draws viewers in.

Step 5: Begin by adding the back leg in the left part of the drawing, ensuring to maintain the correct proportions to match the overall structure of the body. As you sketch, incorporate a small curve to represent the fur, giving it a more textured and realistic appearance. Make sure to pay attention to the details or any distinctive patterns in the fur, which can enhance the overall look and feel of your drawing.

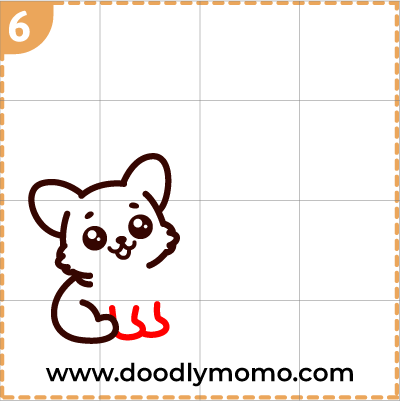
Step 6: Next, draw the two front legs, ensuring they are proportionate to the body and properly aligned. Start by sketching a gentle curve for the upper part of each leg, tapering it down slightly as you create the lower sections. As you work on the legs, pay close attention to the specific details such as the muscle definition and the positioning of joints, as these elements can significantly enhance the overall realism of your drawing. Remember to adjust the angles based on the pose of the creature, making sure they support its weight effectively and convey a sense of movement.
Step 7: Lastly, add a gentle curve for the right side of the body, ensuring it flows naturally with the overall design, and include a small, delicate curve for the fur to give it a soft texture. This will enhance the visual appeal and realism of your drawing. Don’t forget to add zigzag lines for the tail, making sure they vary in length and direction to convey a sense of movement and liveliness. Consider the placement and angle of the tail to complement the body, creating a harmonious balance in your artwork. Check for the next part here. Good work!

Here are all the detailed steps for the part 1 of this special tutorial, ensuring that you can follow along without any confusion as you work through the process. Each step is meticulously outlined to provide clarity, allowing you to navigate through the procedure with ease and confidence. By following this structured approach, you will minimize the chances of making mistakes and increase your efficiency as you progress. Feel free to refer back to this guide whenever you need a reminder or a clearer understanding of the process.

Please click here to continue on Part 2!
📌We are in Pinterest too! Check us out and save our pins as reference! ♥
You can also check and buy vector files and images from our Adobe Stock link below, where you’ll find a diverse collection catering to all your creative needs, ensuring that you have quality visuals for any project, whether it be for web design, marketing, or personal use.
Thank you for reading! We hope you found this article insightful and enjoyable. Please have a look at our other step-by-step tutorials, where you can discover a variety of adorable dog breeds, including tips on training, grooming, and care. Whether you’re a seasoned dog owner or considering bringing a new furry friend into your home, our comprehensive guides are designed to help you along the way. Happy Drawing!


Leave a comment